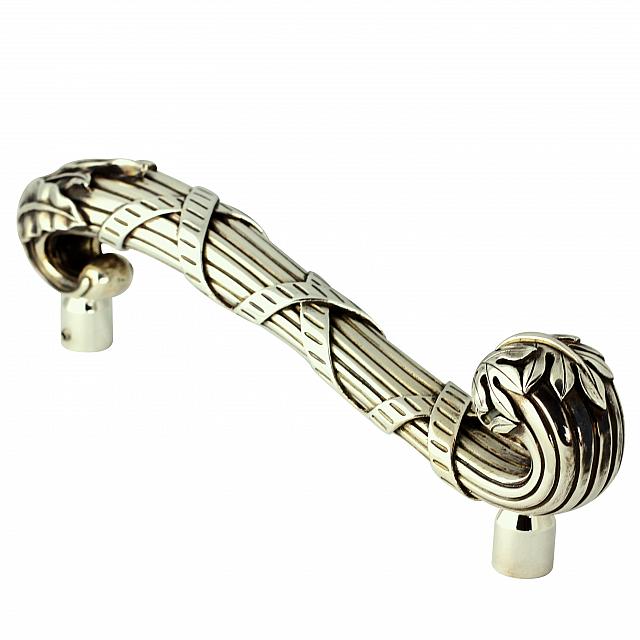
This post is a bit different – and hopefully more educational as well. We recently made hardware that resides in the penthouse of the new Trump building in Chicago. This hardware was all done bespoke and the process was arduous and involved.
Step 1: Create the concept
The first step was a creation of a concept or design – this piece was to have ribbon and reed detailing but be large enough for tall/large doors. Our designers completed a detailed sketch for the designer & client.
Step 2: Craft Originals

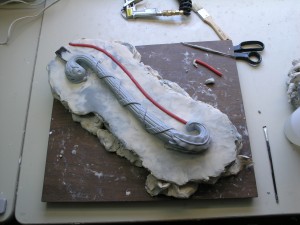
completed sculpt
Our sculptor then hand crafted originals that were roughly 6% larger than the final product would be (due to shrinkage in the investment casting method).
When completed the ‘sculpt’ was sent off to a mold maker that made a detailed mold for the process. Remember that not all mold makers or pattern makers are the same so be sure to select yours wisely (look at previous work and get to know your foundry).
There are specific ways the foundry will do the ‘pour’ and vent holes and gates must be properly placed to be certain that the most accurate casting can be made.
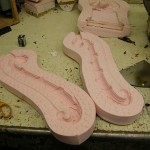
Here is a photo of our final mold before being used in production. This mold gets injected with wax.
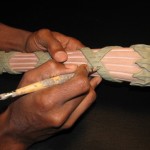
wax for ribbon & reed pulls
Photos here show the brownish wax that was used to create our ribbon and reed pulls.
Step 3: Ready to be dipped
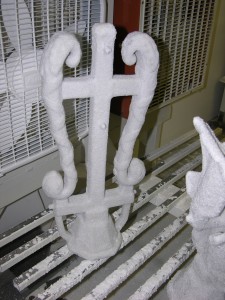
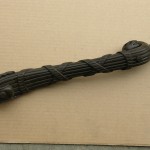
wax shell
These waxes are then put on a tree to be dipped in plaster creating a shell. Smaller parts can be ‘treed’ up several parts to a tree. Because our handles were so large there were only two that went on each tree. We also make some extras to be certain that all raw castings are 100% – assuming that we will have some rejects.
These trees are then dried and the wax is removed. They are then poured with bronze or brass (we selected bronze for our castings). Then parts to mount the pulls to the doors were fabricated by our machine shop — called stand-offs. We did several of our pulls back to back (much like you would see on a commercial building) and did this with concealed fasteners so that no screw heads would show.
Step 4: Polishing
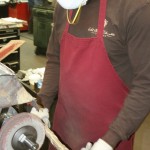
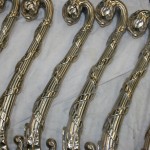
polishing bronze handles
Then our polishers were off to the races to get these installed before the client moved in. This is one advantage of having our complete finishing shop under ‘one-roof’ which prevents us to send things out for polishing or plating.
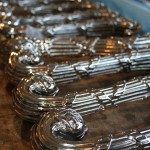
James used four or five different polishing set-ups and wheels during the process of finishing them prior to being plated.
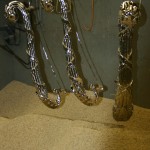
The material seen here below the pulls is actually ground up corn cobs that we use to wick away the hot de-ionized water that is used in the last rinse bath during the plating process. This insures that there are no spots or marks on the parts when they are completed.
Step 5: Nickel Bath
Then the pulls were plated in our nickel bath. We also did several of these in a hand rubbed antique silver & wax — those look stunning and we will be getting those photos up soon!

